A renovation goes over budget the same way every time: not in one big decision, but in a hundred small ones made without a plan. You start the bedroom, realize you need a different rug than you bought, order it, then the rug needs a different lamp, and somewhere around the third trip to the store the "$800 refresh" is a $2,100 project with a closet of returns. The overage doesn't come from expensive taste. It comes from buying before you've decided — from planning the renovation one purchase at a time.
This is a guide to planning an Airbnb renovation on a budget before the money moves: the order to work in, where the dollars actually belong, and how to see each room finished on screen so you commit once instead of three times.
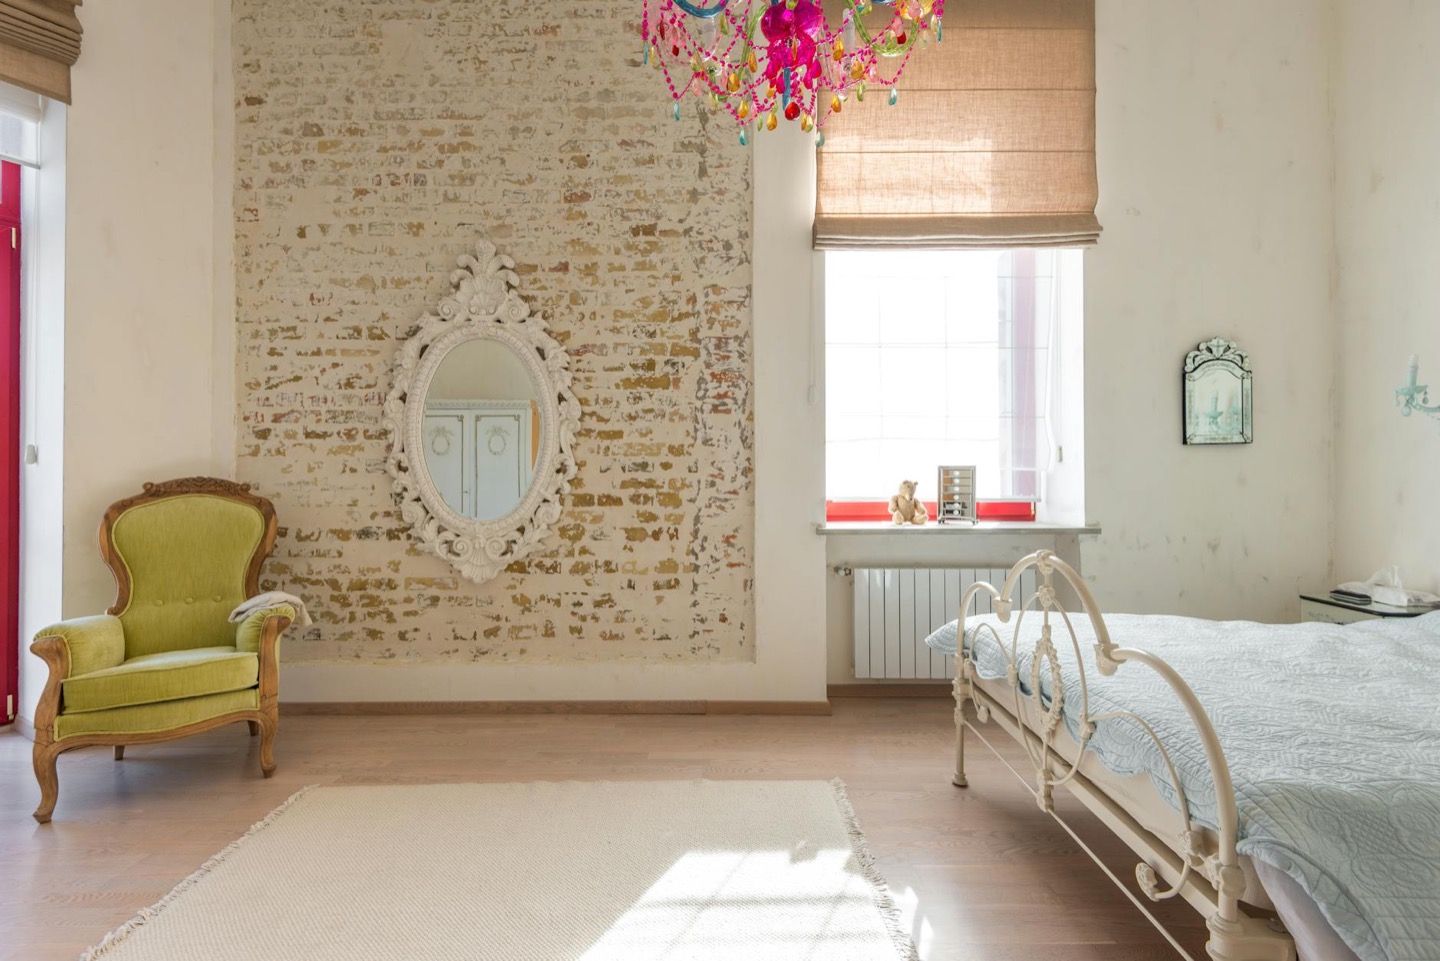 Before
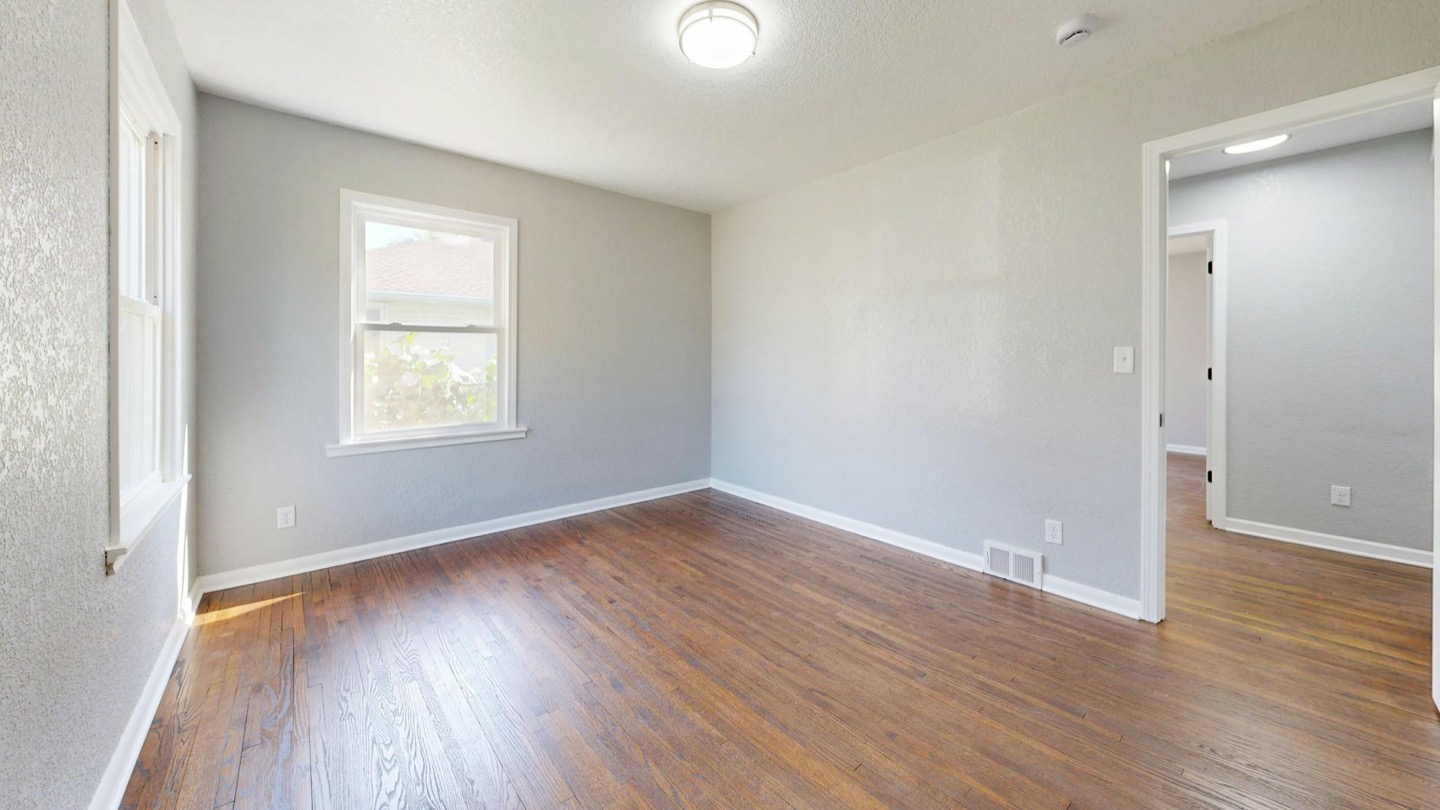 After
Start with the plan, not the purchase
The single biggest budget saver in a renovation costs nothing: deciding the whole thing before you buy any of it. When you have a plan — every room's look settled, every piece chosen, the total costed — you buy in one pass. When you don't, you buy reactively, and reactive buying is where budgets die.
A renovation plan answers four questions before you spend:
- Which rooms am I touching, and in what order?
- What does each finished room actually look like?
- What's the exact shopping list, at real prices?
- What's the total — and is it under my cap?
Most hosts can answer the first one and guess at the rest. The whole point of planning is to turn the guesses into knowns before they cost money. A design planner exists for exactly this: you preview each room finished and get the shopping list, so the plan is concrete instead of imagined.
Step 1: Set the budget and the cap per room
Decide the total first, then divide it by impact, not evenly. A small two-bedroom unit might get $1,200 total: $500 to the living room (the hero shot), $400 to the primary bedroom, $200 to the second bedroom, $100 to the bathroom. The kitchen, if it just needs decluttering and a styled vignette, might cost almost nothing.
The discipline is the per-room cap. Without it, the first room you touch absorbs more than its share and the last room gets done badly or not at all. With it, you know before you start that the living room gets $500 and not a dollar more — which forces the good decision of spending on what photographs and skipping what doesn't.
Step 2: Work in the order the camera cares about
Renovate in the order a guest's eye travels through the listing, so if the budget runs short, it runs short on the rooms that matter least.
- The main living space — the cover photo, where most clicks come from.
- The primary bedroom — the where will I sleep? room.
- The kitchen — clear counters, one styled vignette.
- The bathroom — folded towels, a plant, clean surfaces.
Anything beyond those is polish. The short-term rental design guide breaks down what each room needs in detail, but the principle for a budget renovation is simple: finish the rooms that book the listing before you spend a cent on the ones that don't.
Step 3: Spend on the cheap changes that photograph
On a budget, the high-leverage changes are the cheap ones — because the camera doesn't know what something cost, only how it looks.
- Paint is the highest-ROI change there is. Test the color in your actual room first with the free wall color preview so $60 of paint goes on once, not twice.
- Lighting — swap to warm 2700K bulbs, add a lamp. A $40 change that lifts every photo.
- Textiles — bedding, a throw, pillows, a rug. The styling layer that reads as "designed" for very little.
- One real plant and one styled surface per room — the finishing touch, for under $40 a room.
Save the big spend for the one anchor piece each room actually needs — a bed frame, a sofa, a rug — and only if the existing one is genuinely failing. Often it isn't, and the budget stretches twice as far.
Step 4: See each room finished before you buy
Here's the step that keeps a budget renovation on budget. Before you order anything, preview each room finished. Photograph the space, clear it if it helps you see the bones (the free furniture removal tool does this), and preview the redesign so you're looking at the actual result with a shopping list and a total attached.
This does two things for the budget. It kills the mid-project re-buy — the rug you'd have ordered wrong, the lamp that wouldn't have matched — because you've already seen the pieces work together. And it lets you cost the whole renovation before you start, so you find out the bedroom is $90 over cap while it's still just a number on screen, not a delivery in your hallway.
A worked example: a $400 bedroom
Here's a primary bedroom planned to a $400 cap — previewed, costed, and shopped in one pass.
Shopping list
- Repaint behind the bed, warm white (paint + labor)The wall in most bedroom photos. Highest-impact change, tested in the room before buying.$80
- Warm white waffle duvet + 2 shamsReads freshly laundered — the strongest 'clean' signal in a bedroom shot.$72
- Two ceramic lamps, 2700K bulbsSymmetric warm light. Replaces the room's single cool overhead that flattened every photo.$78
- Flat-weave wool rug, 5x7Grounds the bed. Sized off the preview so it fits the room, not a guess.$49
- Linen curtains, 84-inch pairHung high and wide to make the one window read generous.$35
- Framed art pair + one real plantBlank wall solved and one living thing in the corner — the 'designed' finish under budget.$56
Note the existing bed frame stayed. The preview confirmed it worked with the new palette, so the $169 a frame would have cost went back into the budget — which is how a $400 room comes in at $370 with everything it needs.
Renovating an occupied or tired listing
If the unit is already furnished and you're refreshing rather than gutting, the budget goes even further — the base is paid for. This is the territory of an Airbnb redesign: find the two or three changes per room that lift the photos, preview them, and leave the rest. A whole listing can often be refreshed for a few hundred dollars when you only buy what the preview proves you need.
Plan it on screen before you spend it
A renovation stays on budget when it's a plan before it's a purchase. See each room finished, cost the whole thing, then buy in one pass from a list you've already watched work. The alternative — buying reactively, room by room — is how the $800 refresh becomes $2,100. One preview per room is the cheapest line in the whole budget; here's the full pricing, and the first room is free.
Plan the whole renovation before you spend a dollar
Upload one photo per room. Preview each finished, get the shopping list and the total, then buy once. First room is free.
Plan My Renovation — Free$29 per additional room · One-time · No subscription
FAQ
How do I plan an Airbnb renovation on a budget? Decide the whole thing before you buy any of it. Set a total and a per-room cap, work in the order the camera cares about, spend on cheap high-impact changes (paint, lighting, textiles), and preview each room finished so you buy once instead of re-buying mid-project.
How much does it cost to renovate an Airbnb room? On a budget, a single room often comes in at $300–$600 if you keep the working furniture and spend on paint, lighting, and the styling layer. The number climbs fast only when you replace anchor pieces you didn't need to — which a preview helps you avoid.
What's the biggest budget mistake hosts make? Buying before deciding. Reactive, one-purchase-at-a-time renovation creates returns, clashes, and re-buys that quietly double the budget. Planning the finished rooms first prevents almost all of it.
Should I renovate room by room or all at once? Plan all at once, even if you execute room by room. Planning the whole unit first lets you set per-room caps and avoid spending the first room's budget on the wrong things — the rooms can still be done in sequence.